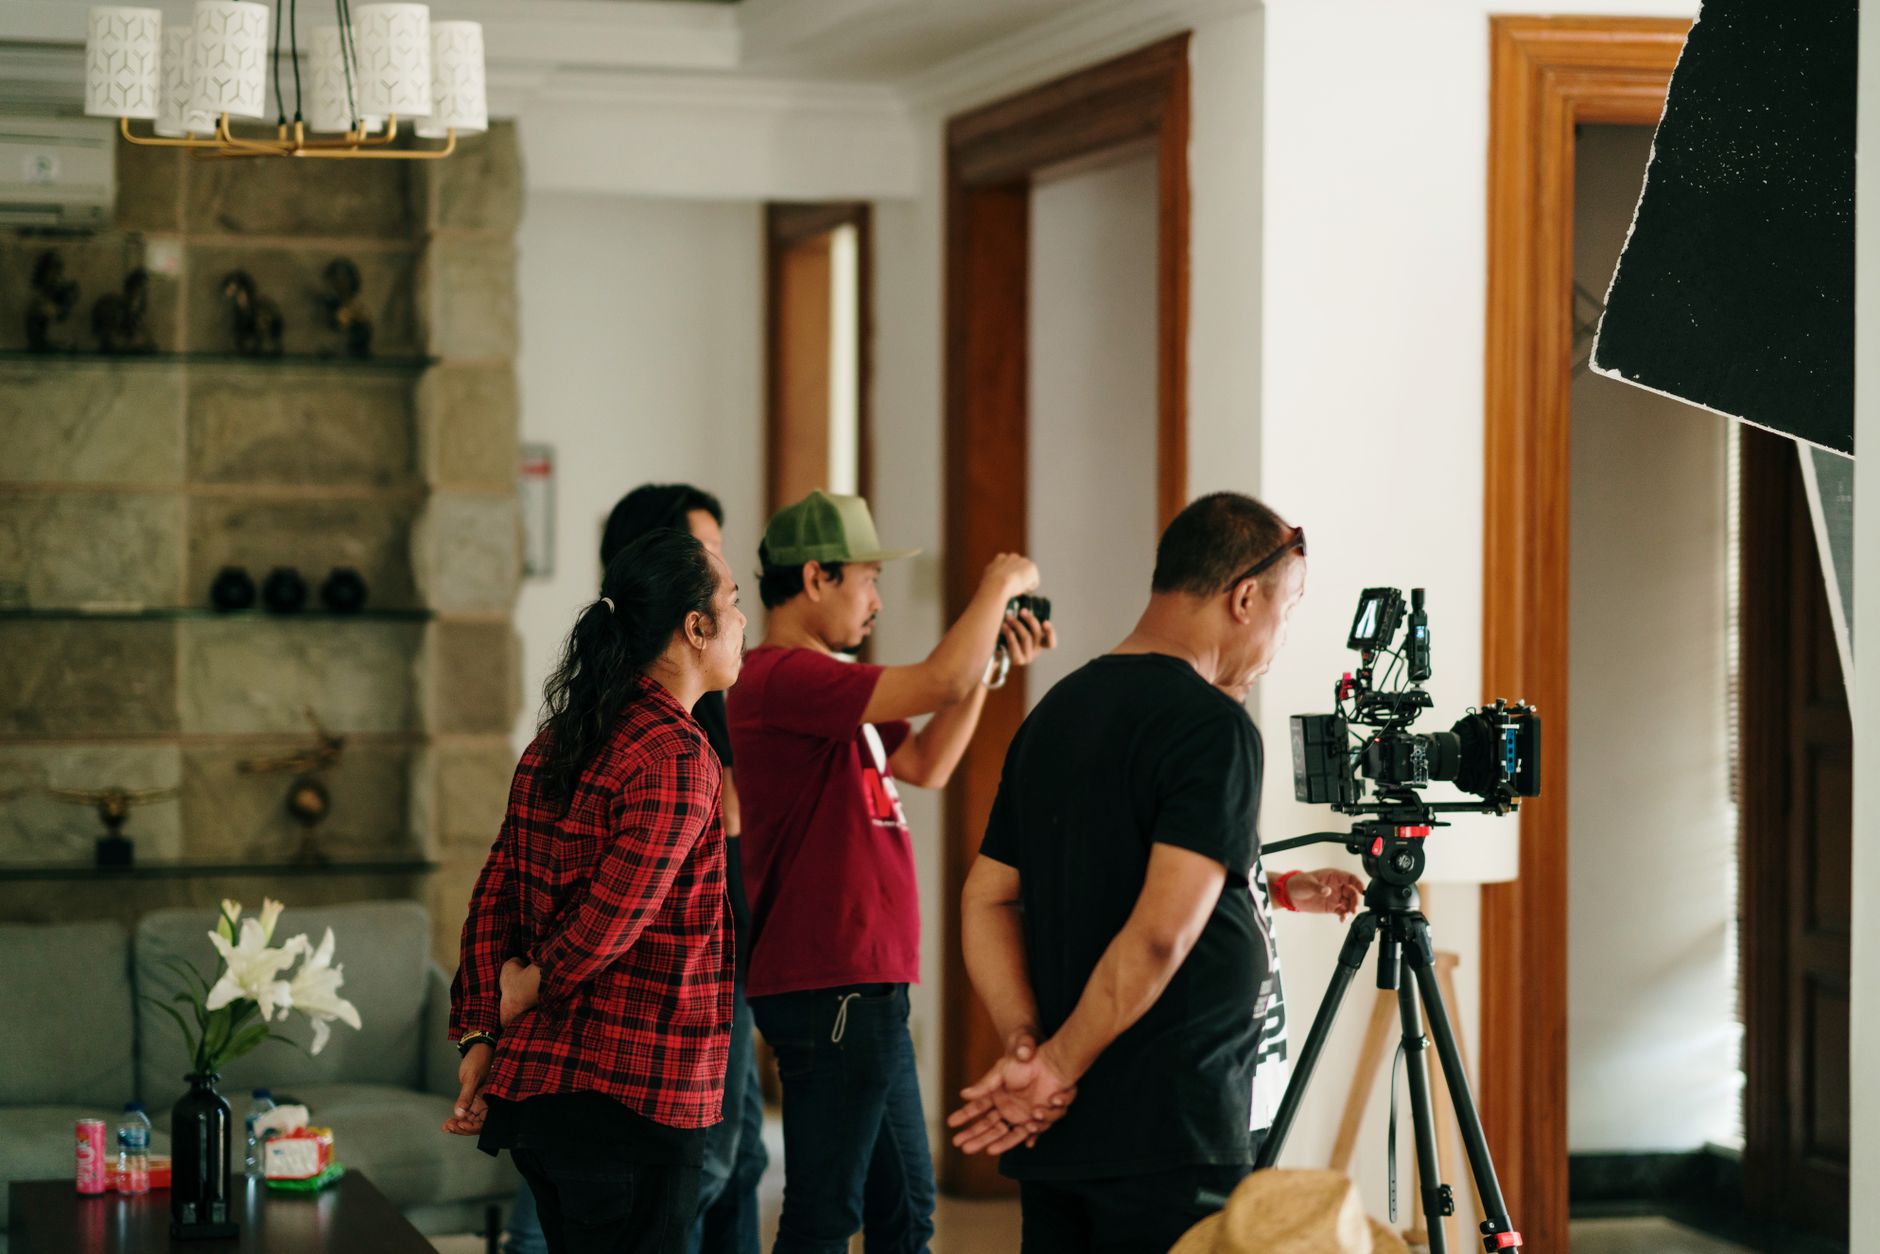
A useful beverage product shoot brief tells the production team what the work must communicate, where it will appear, and what has to be true on camera. It should cover the product itself, the audience, the approved message, the required scenes, the delivery formats, and the practical details that affect how a beverage looks during a shoot.
The brief does not need to direct every camera move. It needs to remove avoidable ambiguity before the product reaches the set.
1. State the job of the shoot
Open with the business and marketing objective. Is the work introducing a new product, supporting a retailer, demonstrating a preparation method, refreshing paid creative, or building an evergreen asset library?
Name the primary audience and the decision the asset should support. A clear objective helps the production team judge which shots deserve the most time and which are optional.
2. Document the product accurately
List every product, flavor, size, package type, and label version expected on camera. Identify the priority item when everything cannot receive equal coverage.
Include current packaging references and flag details that must remain visible, such as the product name, flavor, required label copy, or a particular side of the container. Note any approved claims that may appear in graphics or spoken copy. Do not leave the production team to infer wording from old packaging or previous campaigns.
Confirm how much product will be supplied and whether replacements will be available. Beverage packaging collects fingerprints, dents, and condensation. Hero products should arrive in camera-ready condition, with enough backup for handling and resets.
3. Define how the beverage should look
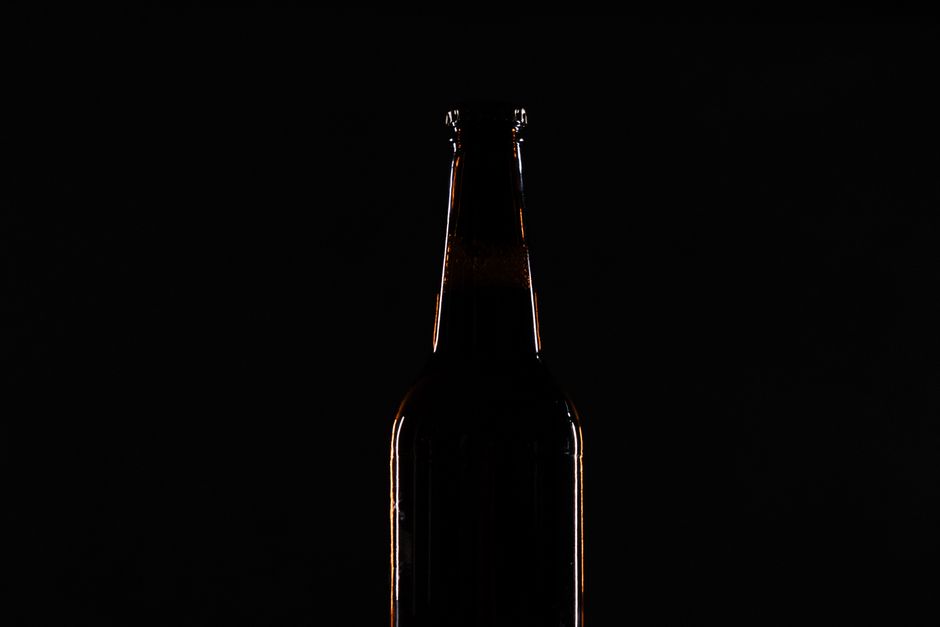
Describe the intended serving state. The production plan may change depending on whether the product should appear cold, poured, opened, mixed, garnished, carbonated, still, or in motion.
Specify the details that matter to the brand: preferred glassware, ice, garnish, foam, bubbles, condensation, fill level, pour style, whether the container should be opened on camera, whether hands or a full person appear, and surfaces, props, and colors to include or avoid.
Reference images help, but explain what each reference is demonstrating. Use this lighting direction is more useful than a board of attractive images with no notes.
4. Map the required scenes
Turn the objective into a prioritized scene list. Separate required coverage from optional coverage. A beverage shoot may need clean package shots, label and ingredient details, opening, pouring, mixing, or serving actions, product with packaging or a multipack, use in a specific setting, compositions with room for headlines or offer copy, and alternate openings for paid placements.
Identify the hero scene and the minimum coverage needed for the shoot to be successful. That priority becomes important when a setup takes longer than expected.
5. Connect every asset to a placement
List the channels and placements before specifying formats. Paid social, organic posts, retailer pages, product pages, email, and sales materials may need different pacing and compositions even when they share footage.
For each placement, include the required orientation, length, resolution, caption treatment, safe areas, and any end card. If a retailer or platform has a technical specification, attach the current version rather than paraphrasing it.
6. Supply approved words and legal boundaries
Provide final product names, approved claims, disclaimers, pronunciations, and mandatory copy. Mark language that must be used exactly and language that is prohibited.
Clarify whether music, voiceover, talent, locations, or props require particular usage rights. Name the intended channels, territories, and term when those limits are already known. The production team should not discover a usage restriction after the edit is finished.
7. Establish logistics and approvals
Include the product-delivery contact, arrival deadline, storage requirements, and instructions for returning or disposing of products and props. Name one person who can answer product questions during production.
Define the review path. List who approves the concept, shot plan, selects, edit, color, and final files. Consolidated feedback from one decision owner is easier to act on than separate notes from several stakeholders.
8. Define the handoff
Specify the final file types, naming convention, folder structure, and delivery location. If the brand expects selects, still frames, clean plates, project files, or source footage, state that before estimating and production.
A brief the crew can use
The best beverage product shoot brief is specific where accuracy matters and flexible where craft matters. Lock the objective, product truth, required scenes, formats, claims, logistics, and approvals. Then let the production team solve the visual problem inside those boundaries.